Design.Wine.Dine.

  • About
  • Design
    • Interiors
    • Events
    • Floral
  • Wine
    • Cocktails
  • Dine
    • Fall
  • Life
  • Travel
  • Contact
  • Facebook
  • Instagram
  • Pinterest

Blair Bear Turns ONE!

June 30, 2014

Entryway_Sign

Happy, happy Monday!  I hope you had a lovely weekend and are ready for the short 4th of July week we have ahead!  Woohoo!

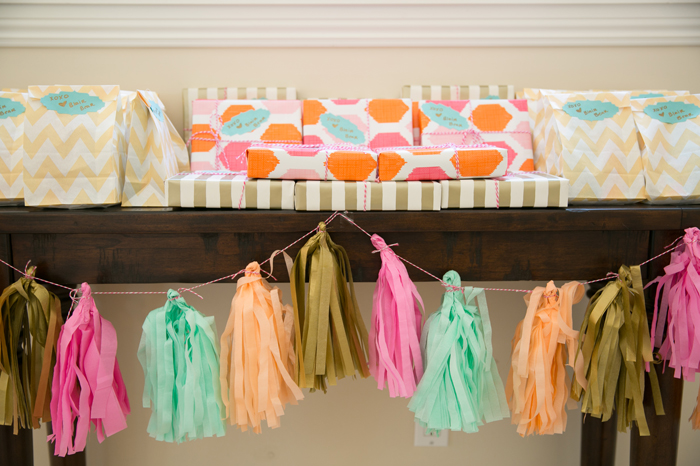
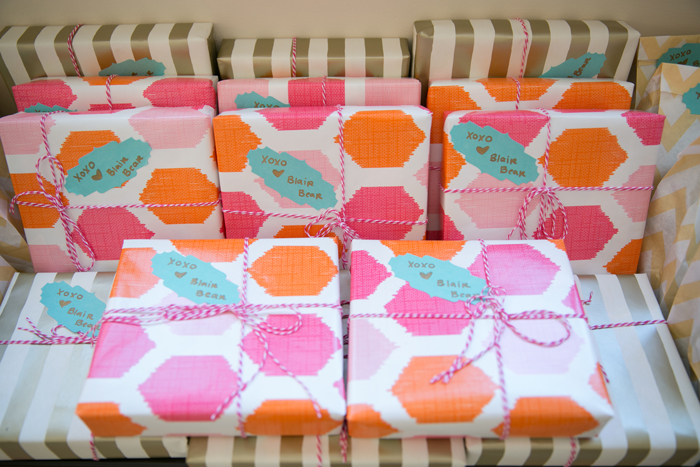
S0… I’ve been dying to share this party!  It’s as cute as can be and was featured on Style Me Pretty Living – pinch me!   The last time I posted, I ran through the steps to create your own tissue paper fringe backdrop that we used for Blair Bear’s Birthday Bash.  It’s one of my favorite DIY’s to date so if you haven’t checked it out yet, head on over here to see 🙂  Our EVP of Sales at ONEHOPE is a dear friend (you might remember her from here) and just over a year ago, she welcomed the cutest little girl into the world.  Blair seriously has the absolute biggest personality and I could not wait to help her momma out with her first birthday party.  Tiffany found a Panda Bear print that she loved at the Land of Nod, so we used that for inspiration for the color palate (mint, coral, pink, gold and white) and went from there.  AND, since it happened to be around the same time we were launching our ONEHOPE Mimosa Bar, we decided to use it that day for the adults and set up an almost identical version (minus the bubbly of course) for the little ones.  We created the tissue paper fringe backdrop for the Mimosa Bar and a fun tissue paper pouf version for the juice bar 🙂  In all, we had so much fun putting this together and not a single detail was overlooked.  Check it out and view all of the vendors at the end!  Xo

PS: The Mimosa Bar + Bubbly for the party provided over 50 meals to children fighting hunger.  Cheers to that!

Entryway_Details2 2

Entryway_Details

Entryway_Gifts

Entryway_Gifts2

Inside_Family

{The happy family! Yay to turning ONE!}
Inside_Details

Mimosa_Bar1

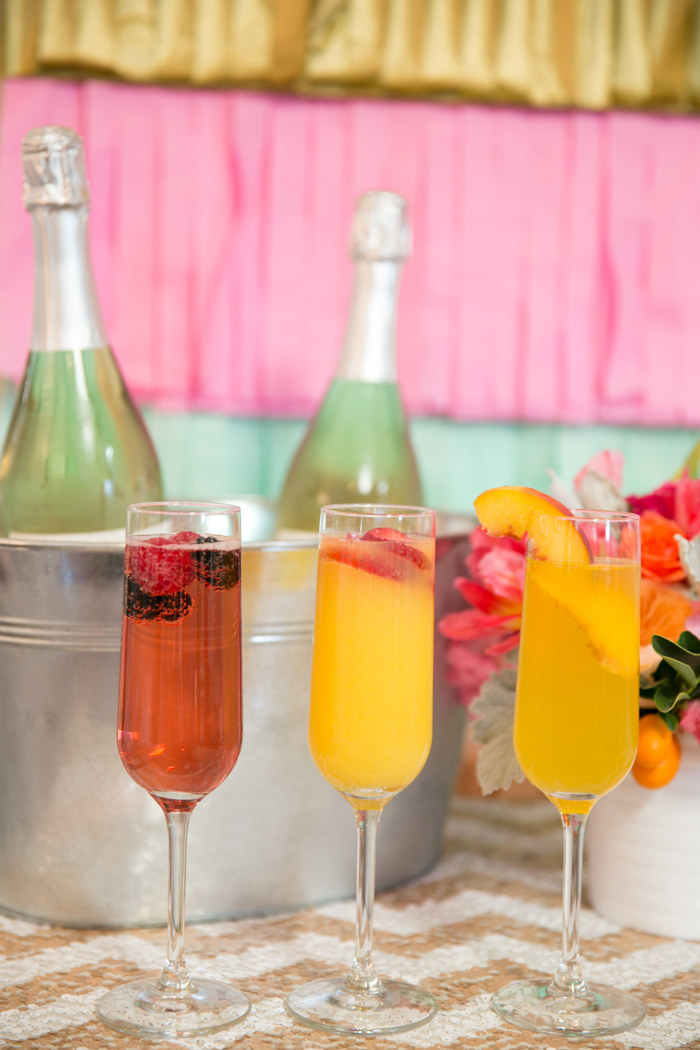
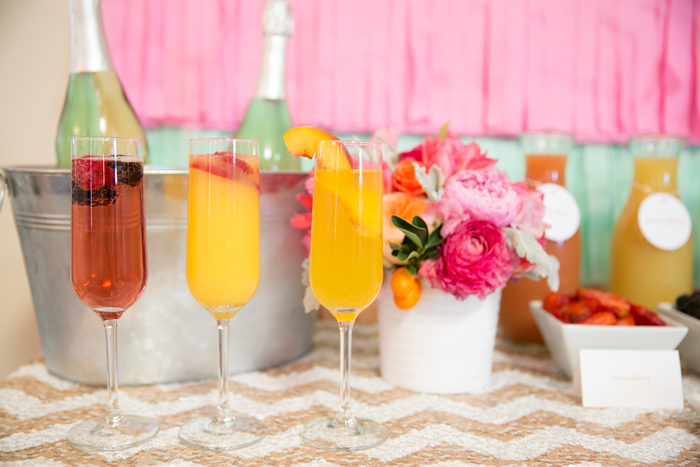
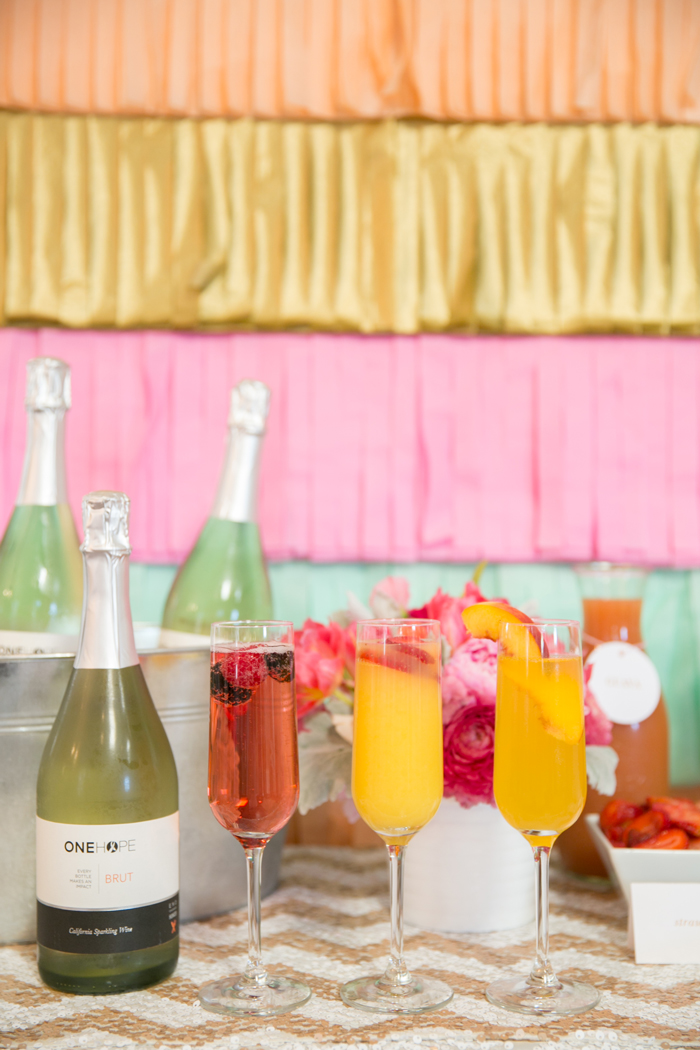
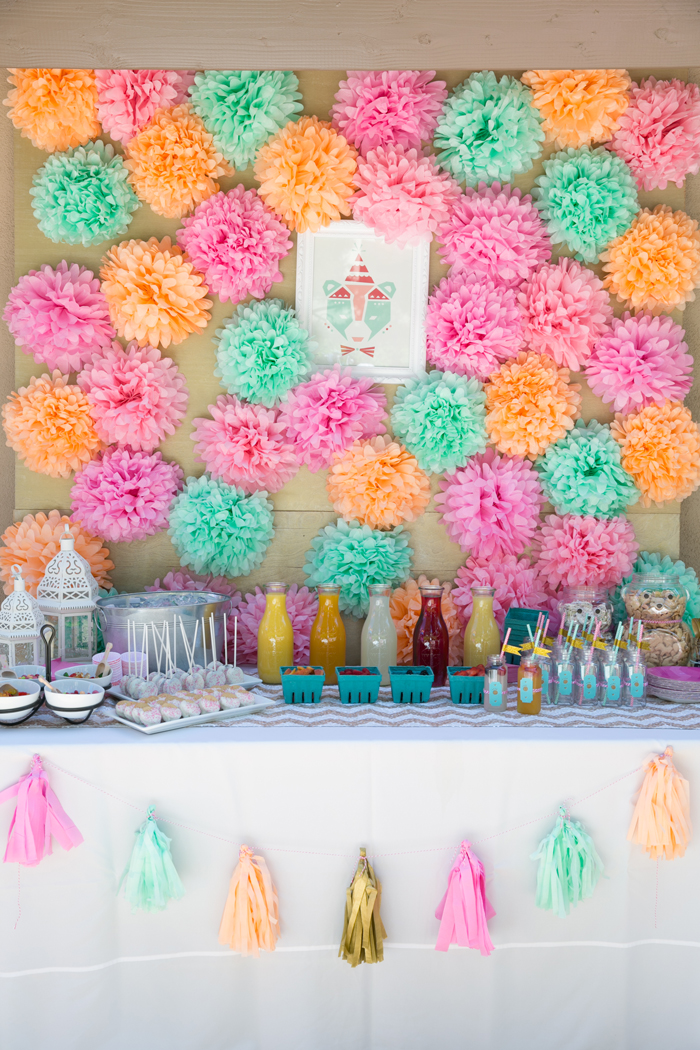
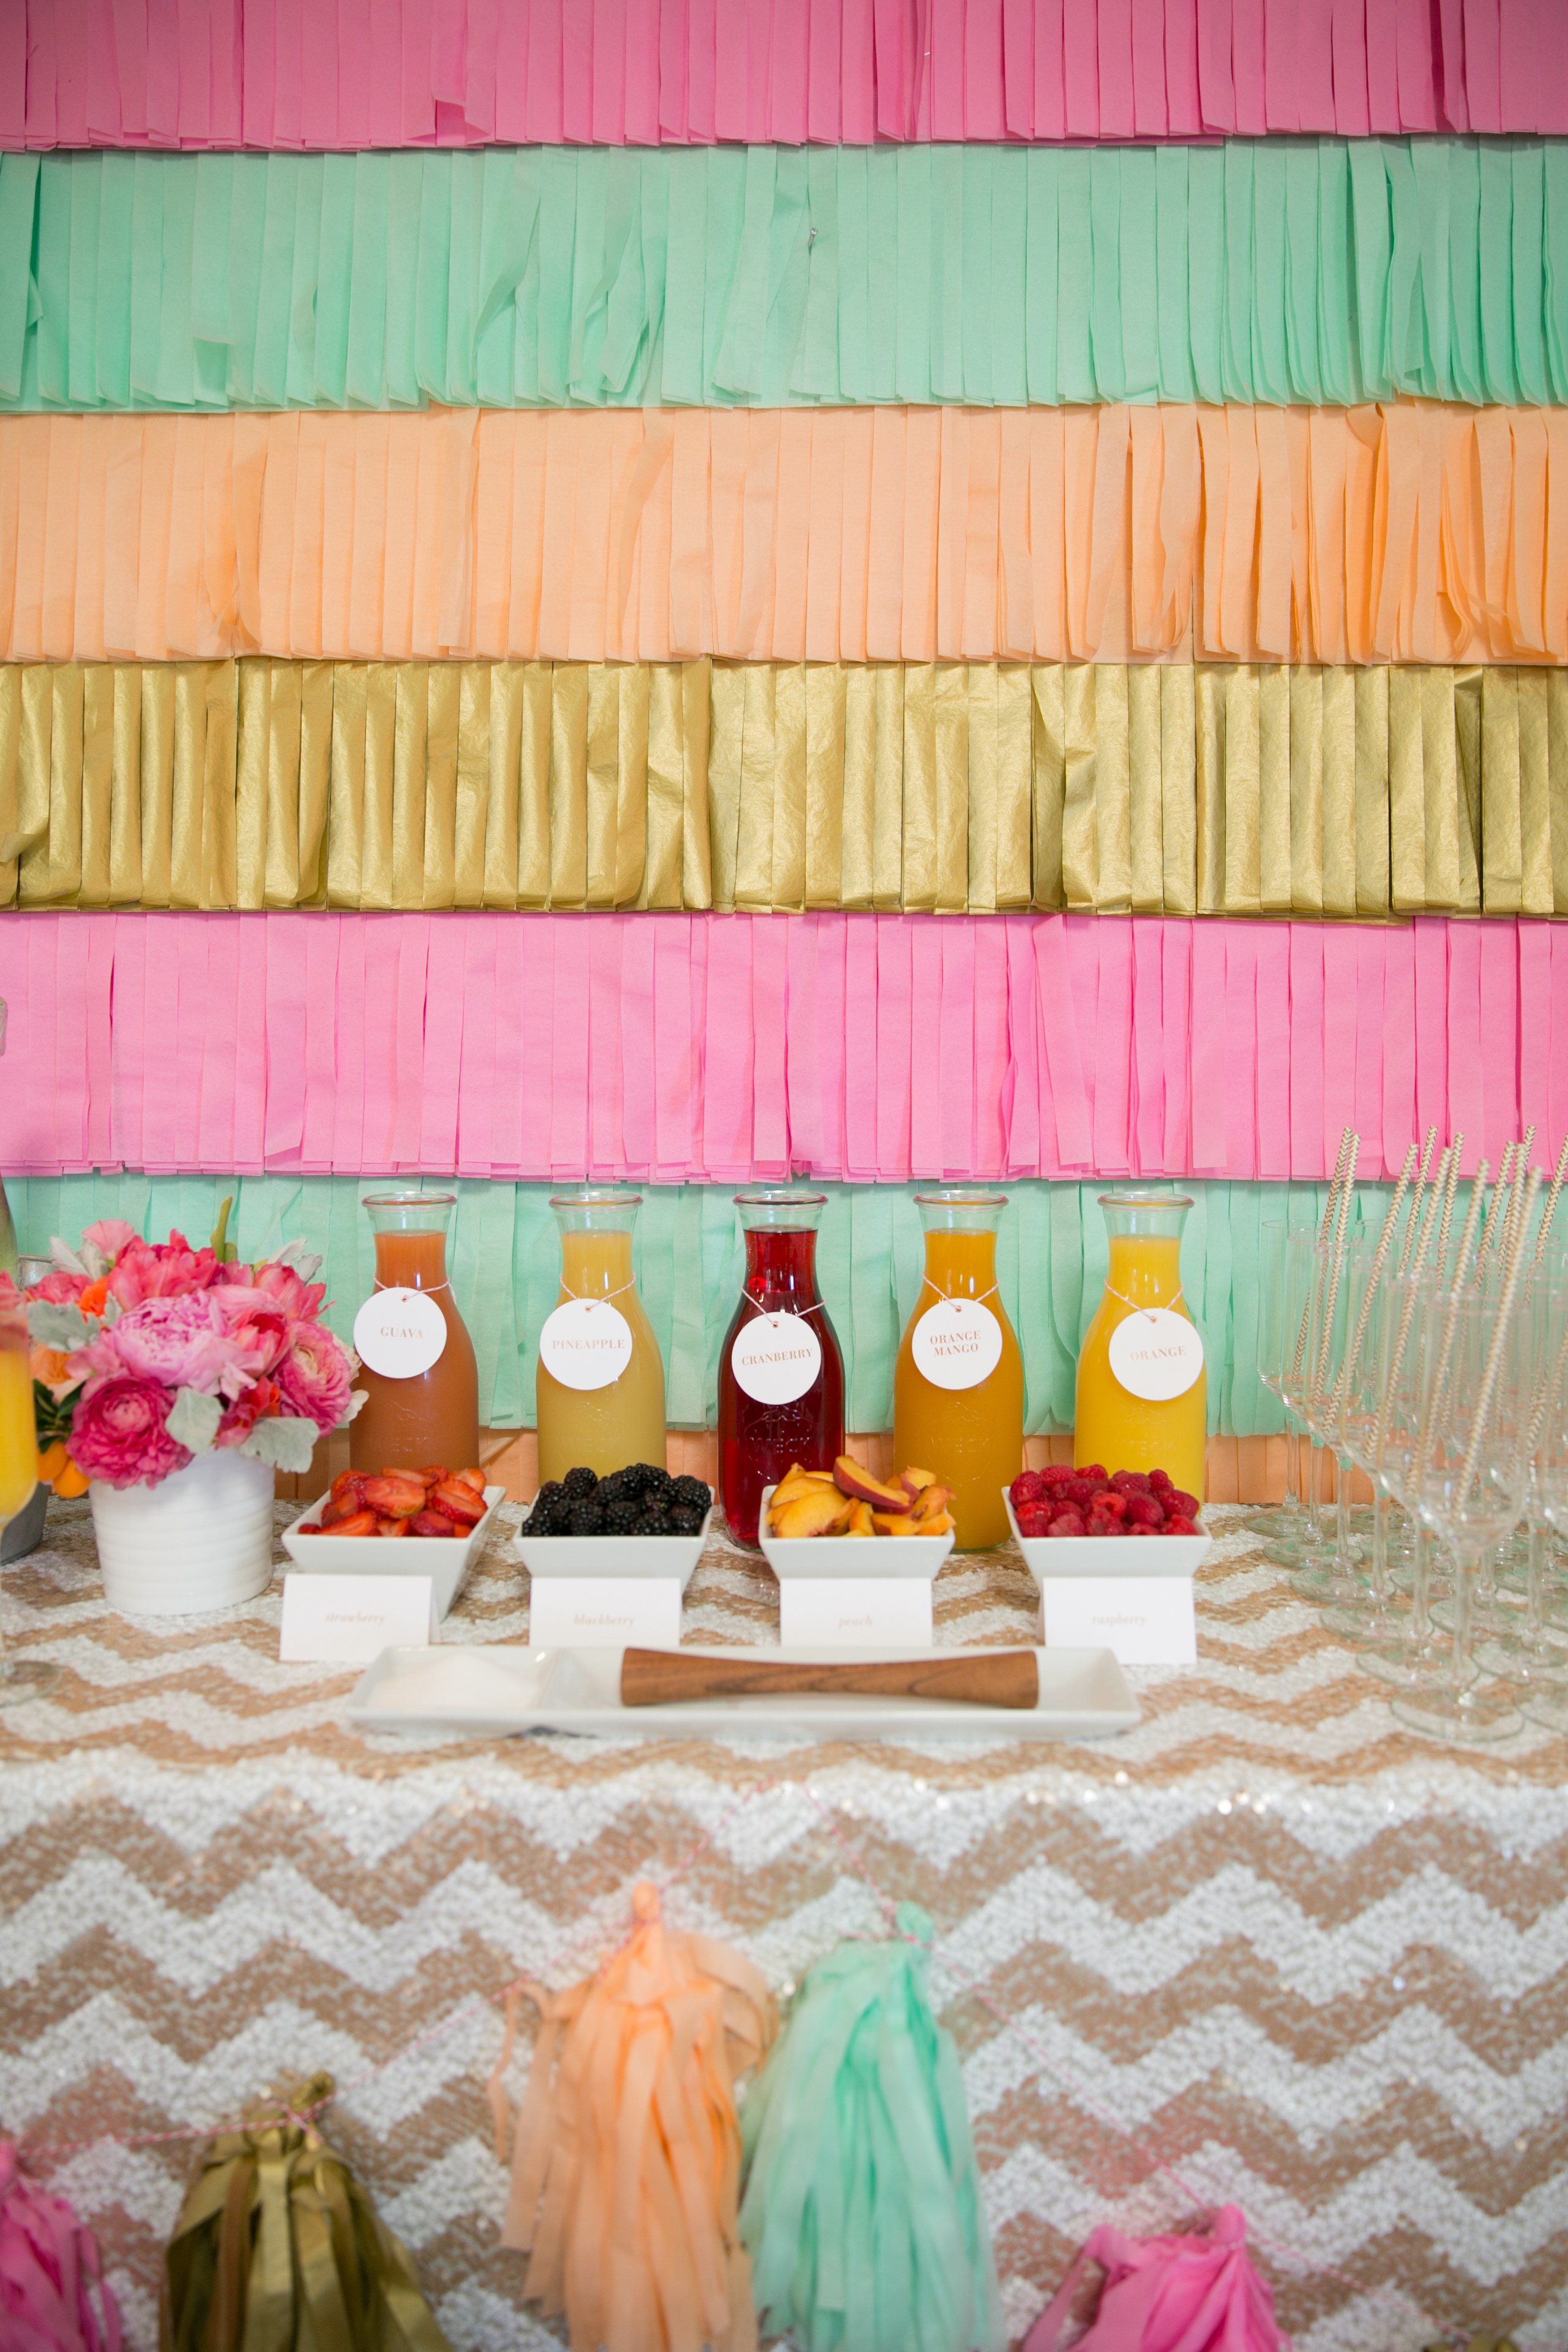
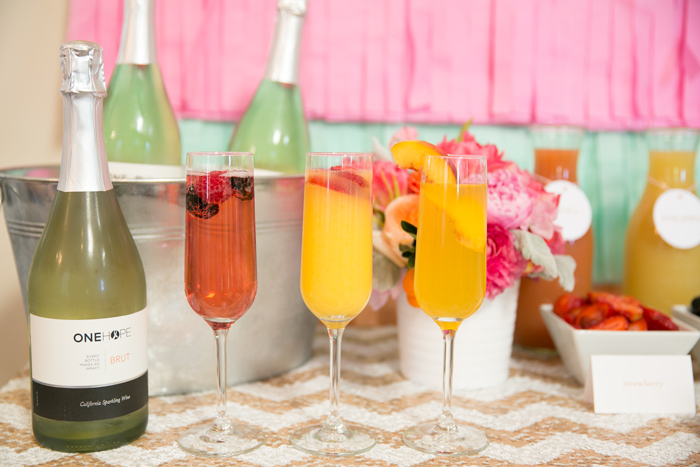
{The ONEHOPE Mimosa Bar in use with our hand crafted tissue paper fringe backdrop}Mimosa_Bar1

Mimosa_Bar2

Mimosa_Bar3

Mimosas

Mimosas2

Mimosas2

Mimosas3

Mimosas4

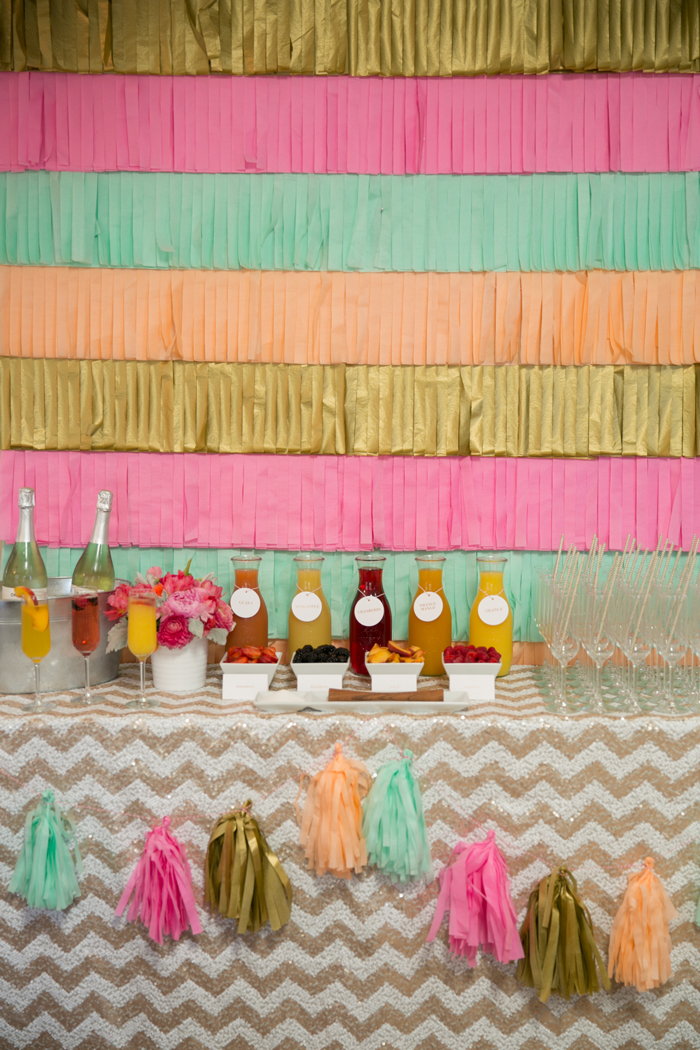
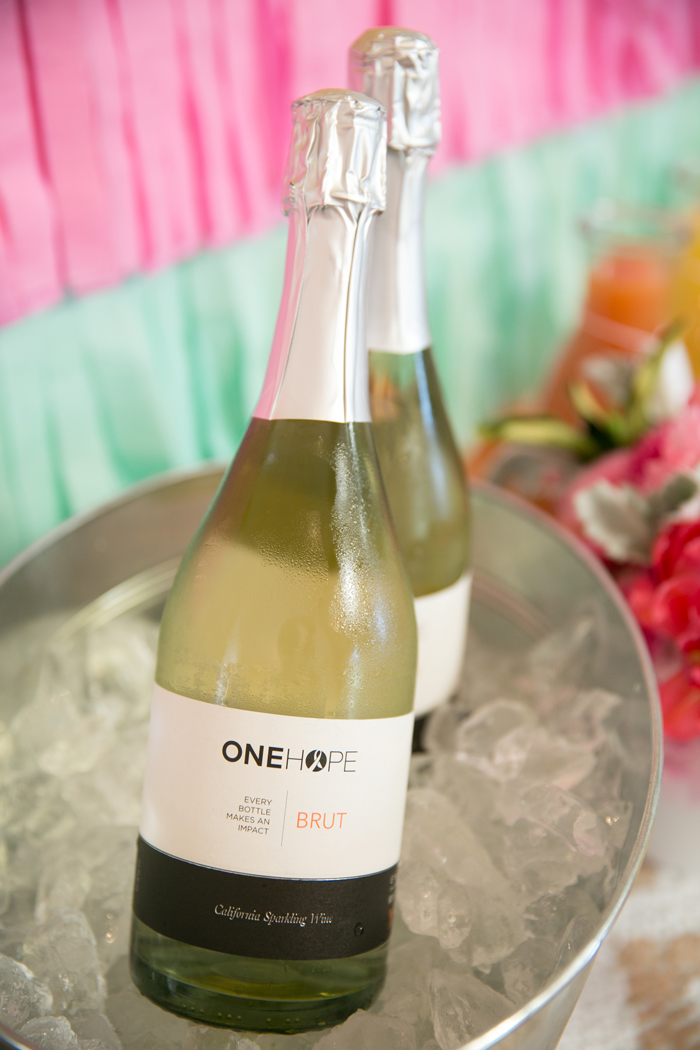
{Every case of ONEHOPE’s Sparkling wine provides 25 meals to children fighting hunger – so perfect for the adults to enjoy during a kid’s party}

Mimosas6

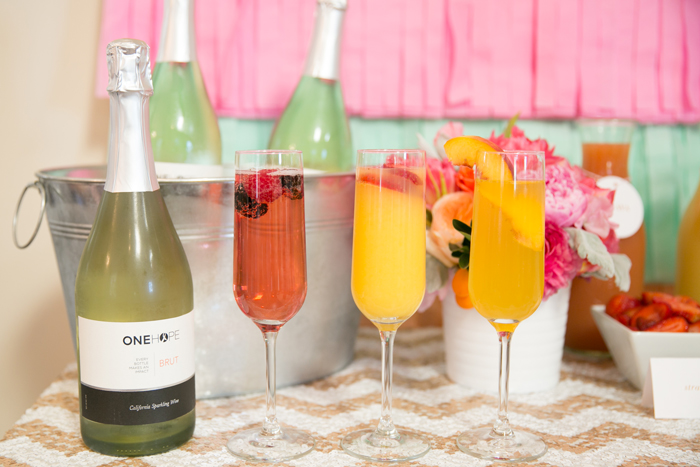
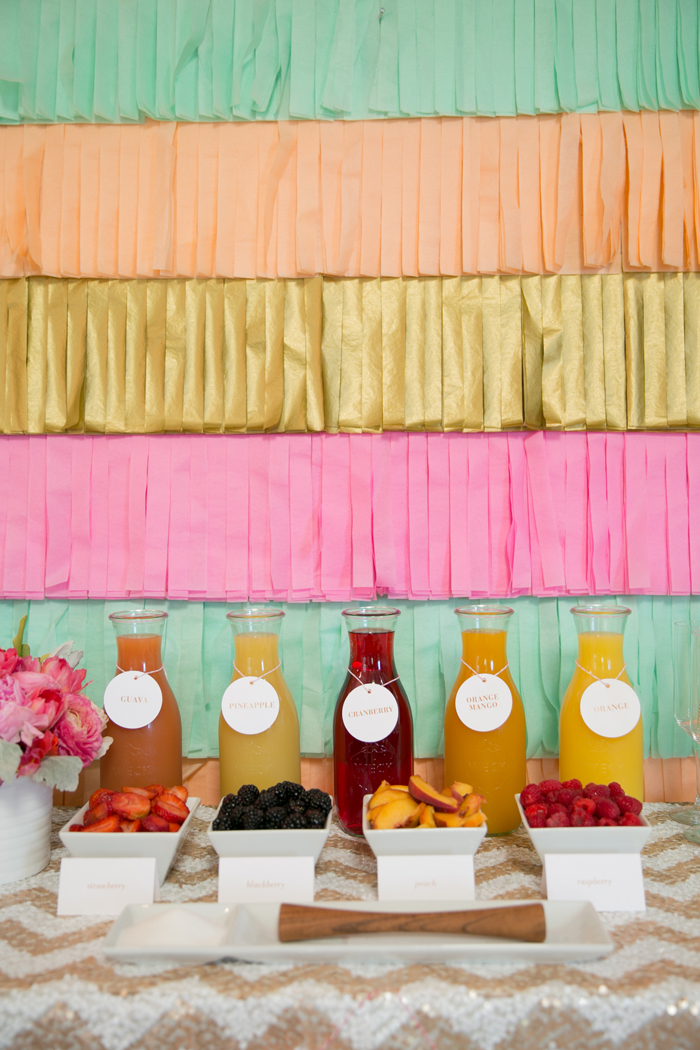
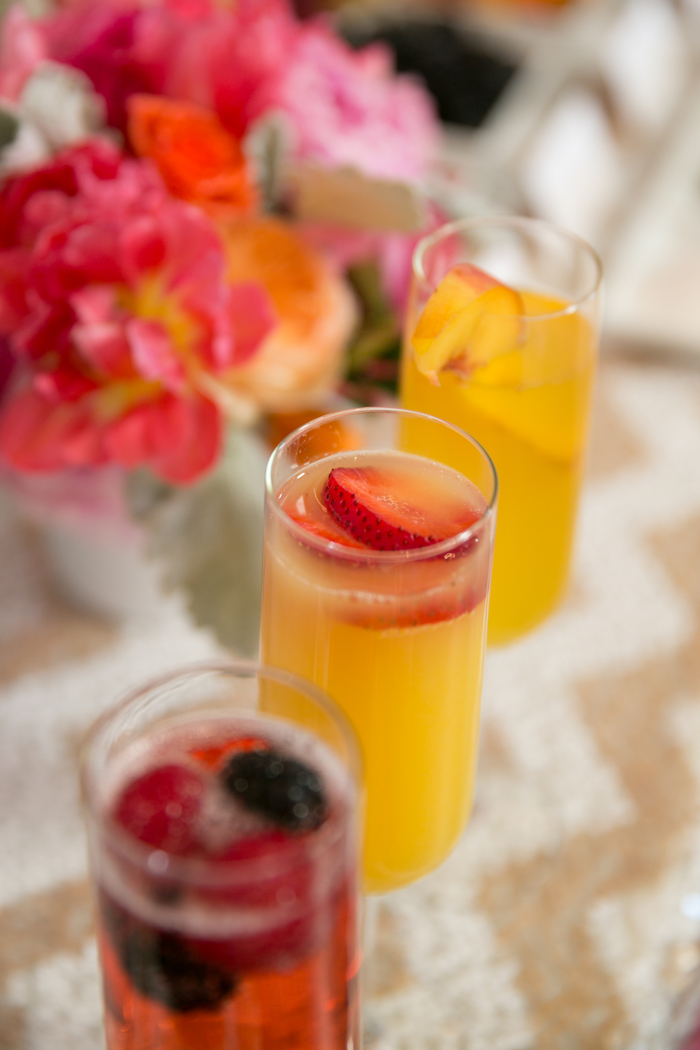
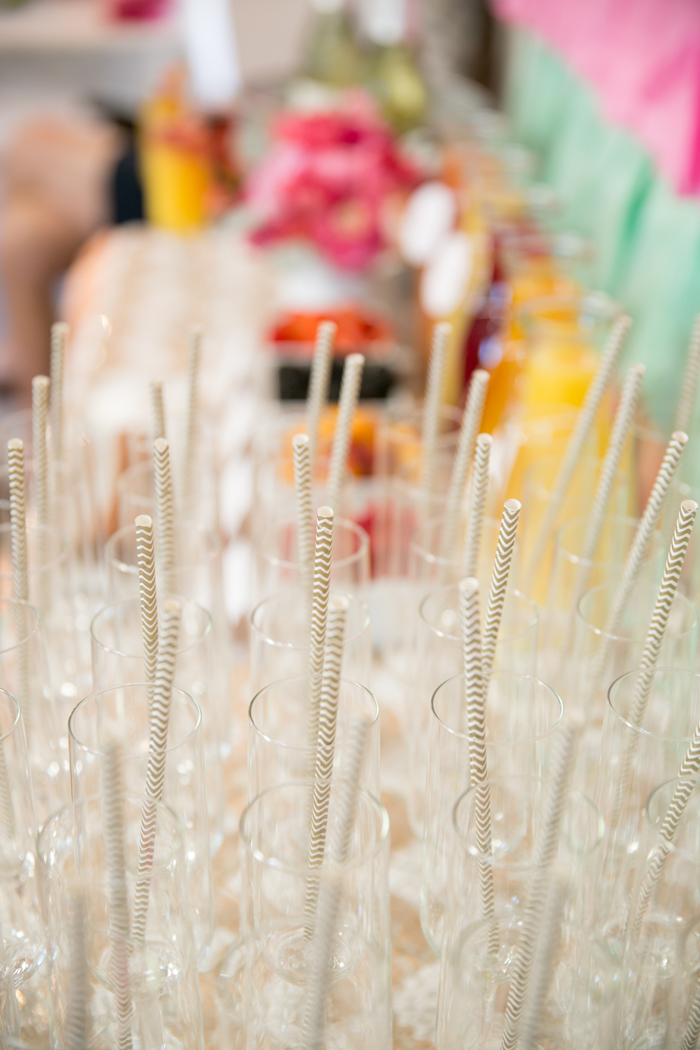
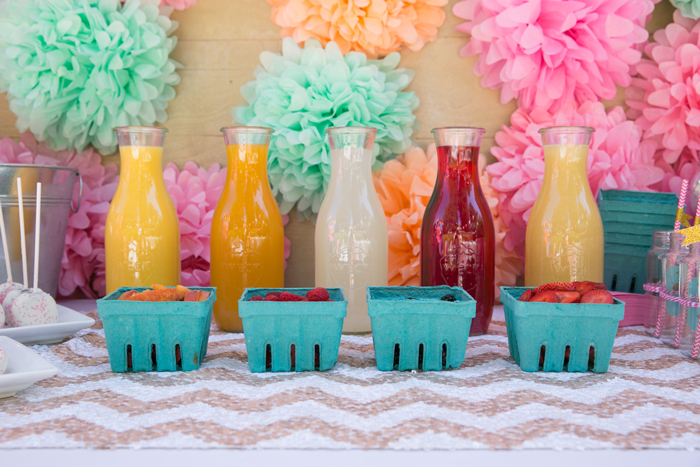
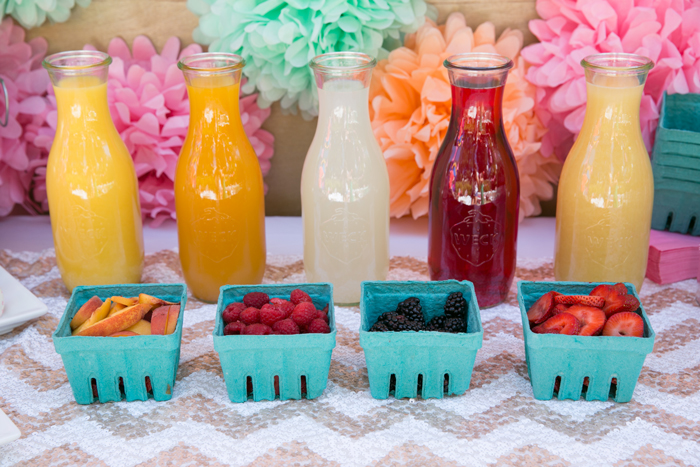
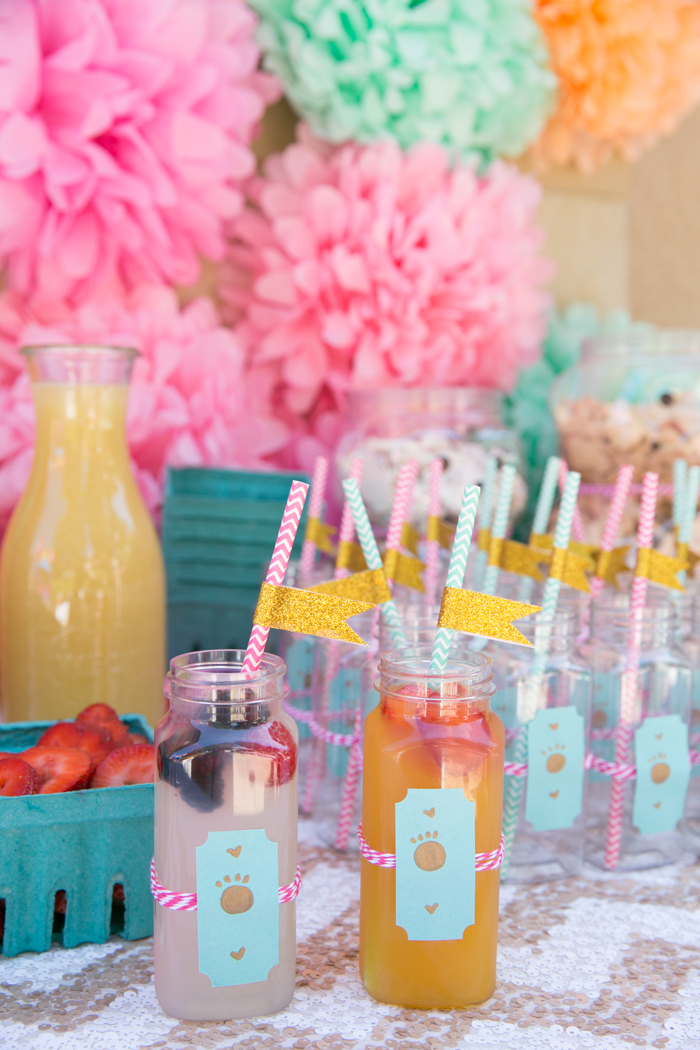
{Guests mixed and muddled their own mimosas with fruits and juices they loved}
Mimosas7

Mimosas9

Inside_Family2

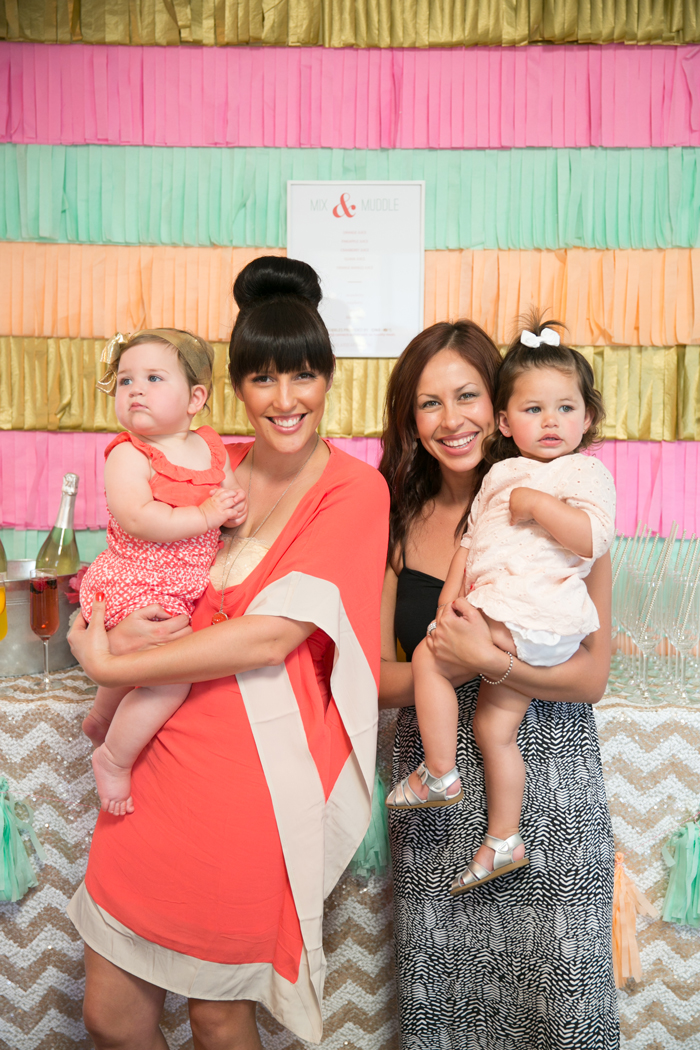
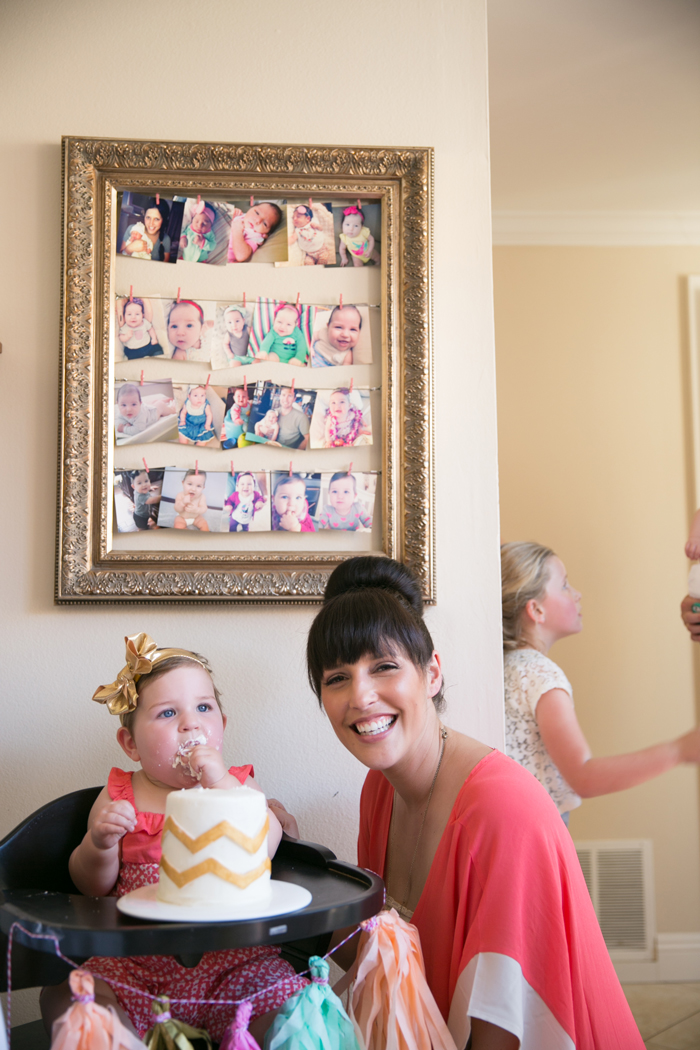
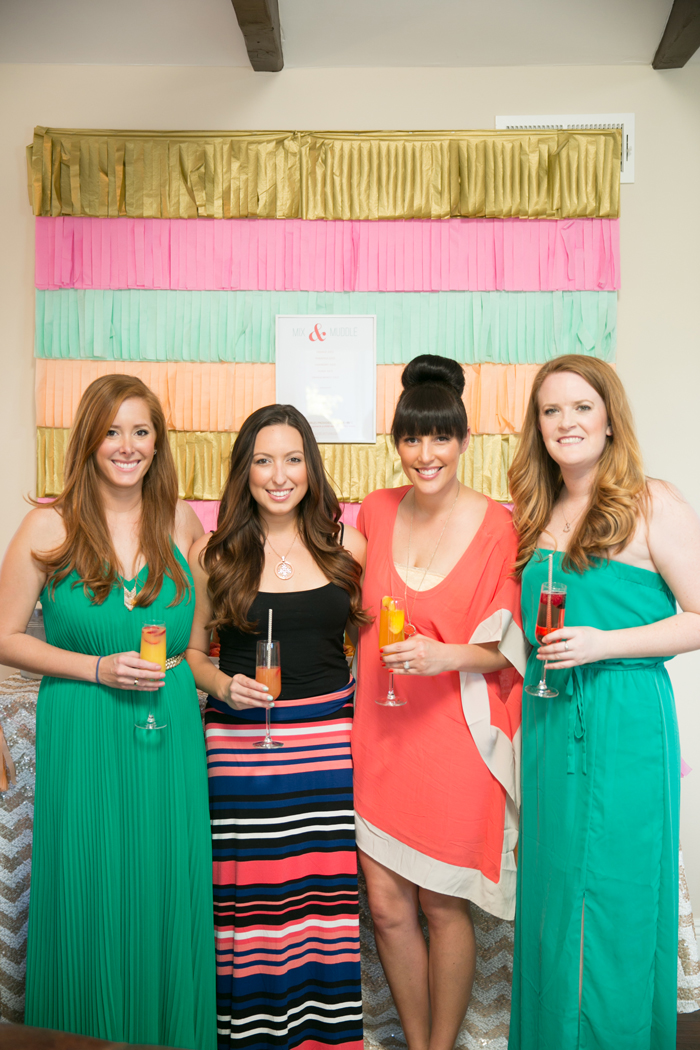
{BFF mommas with their BFF babes}Mimosa_Bar_Signage-Detail

Mimosa_Bar_Details

Mimosa_Bar_Straws

Entryway_Details2

Florals

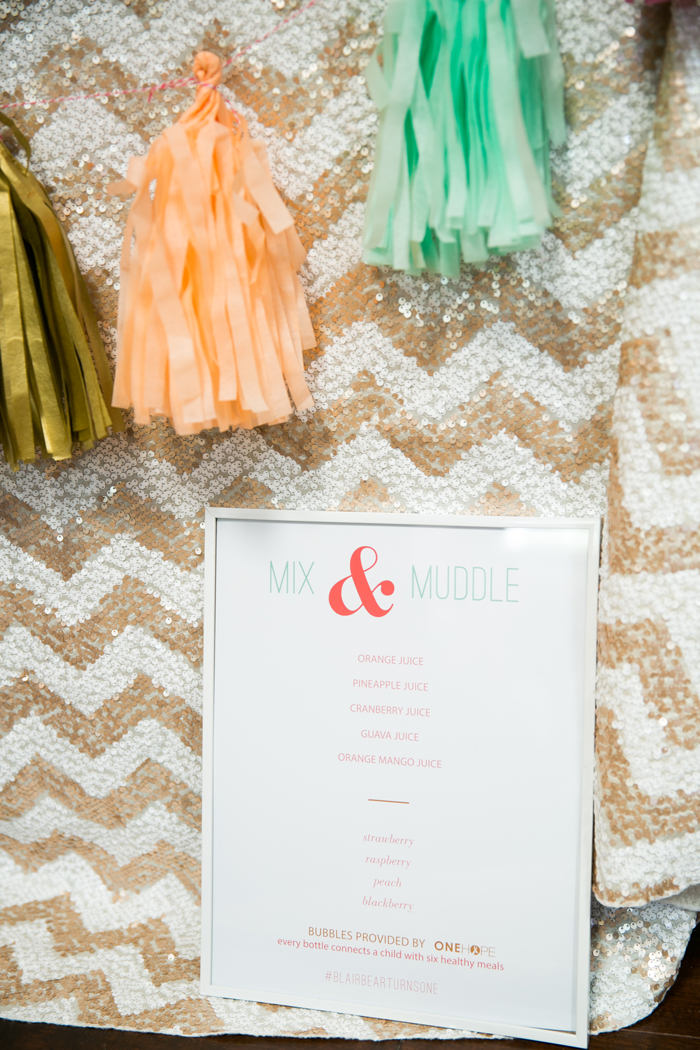
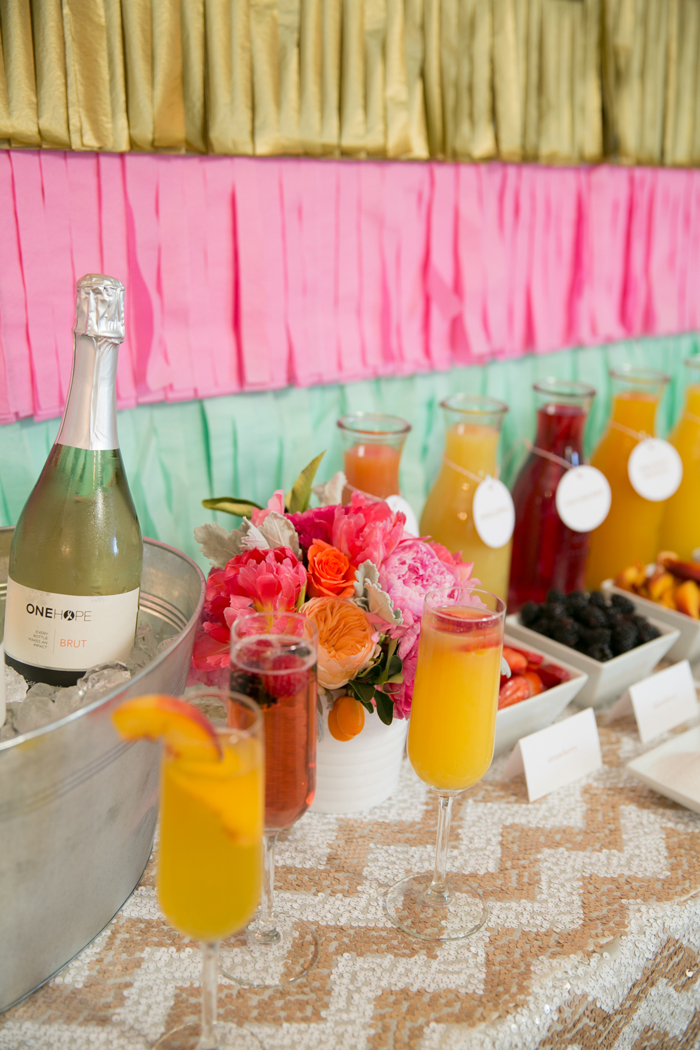
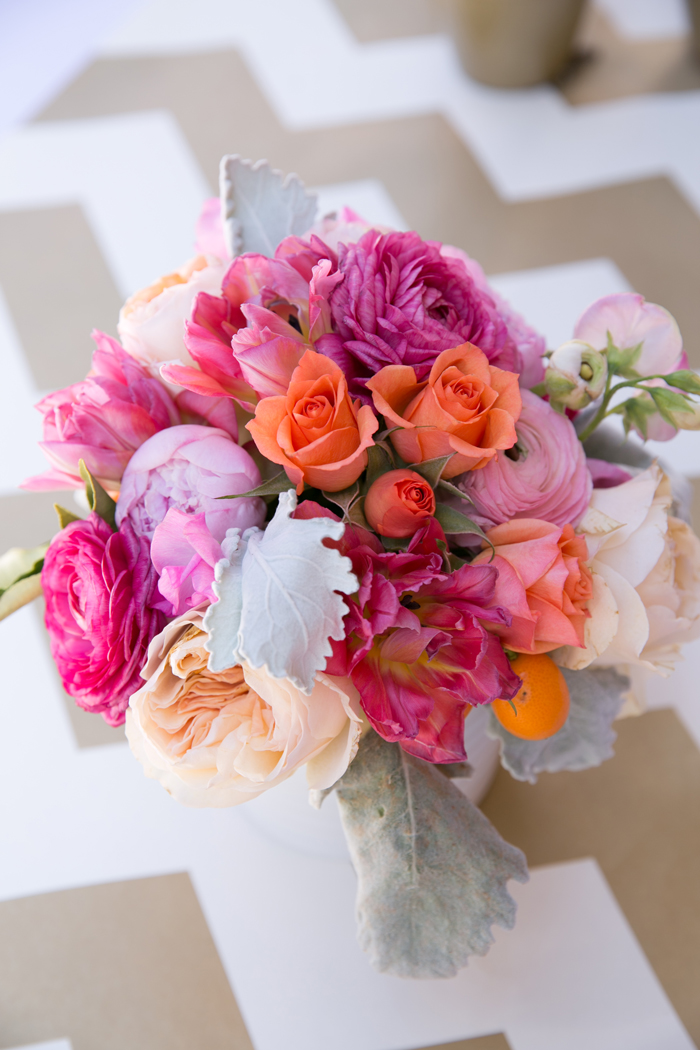
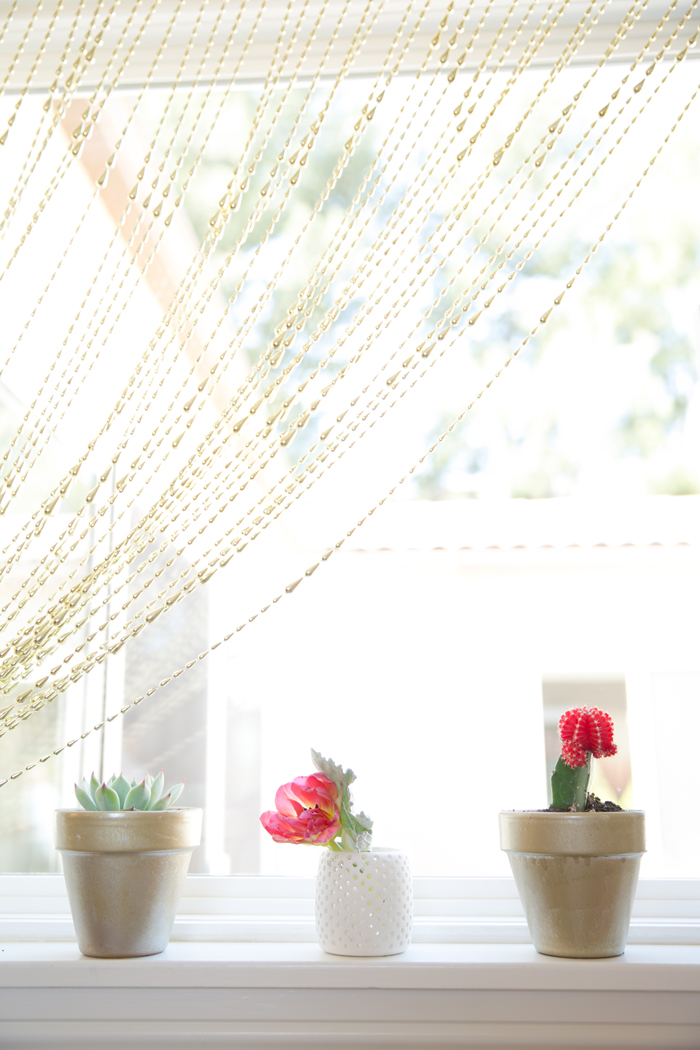
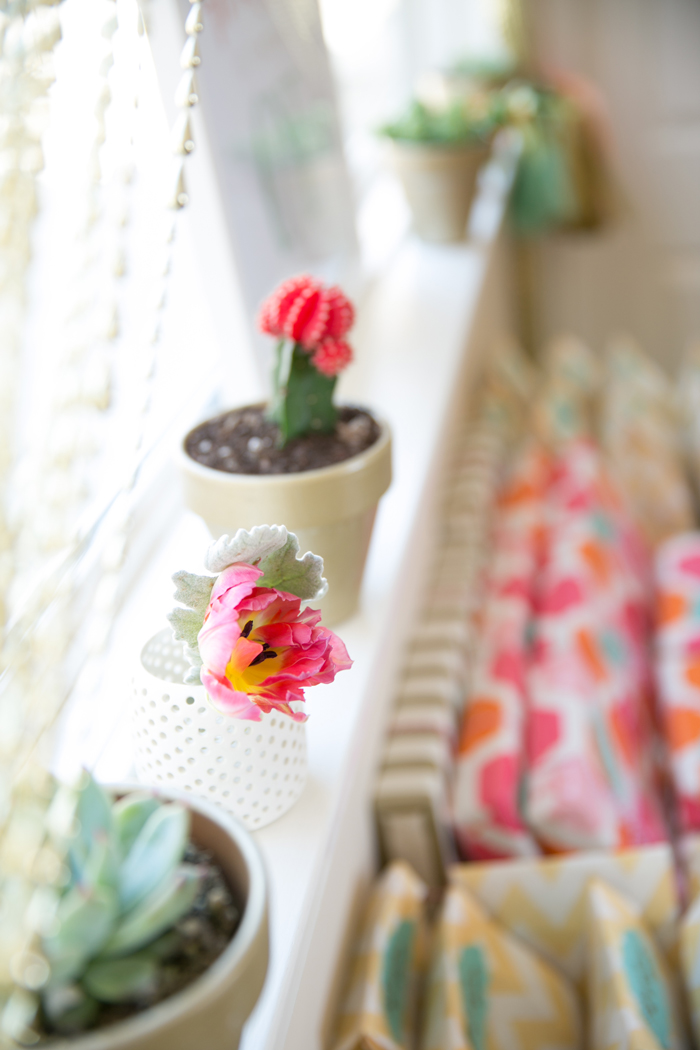
{Florals were a mixture of peach garden roses, bright pink ranunculus and tulips, and dusty miller}Lantern_Lights_Outside

Lantern_Lights_Outside2

Outside_Details_Juice_Bar4

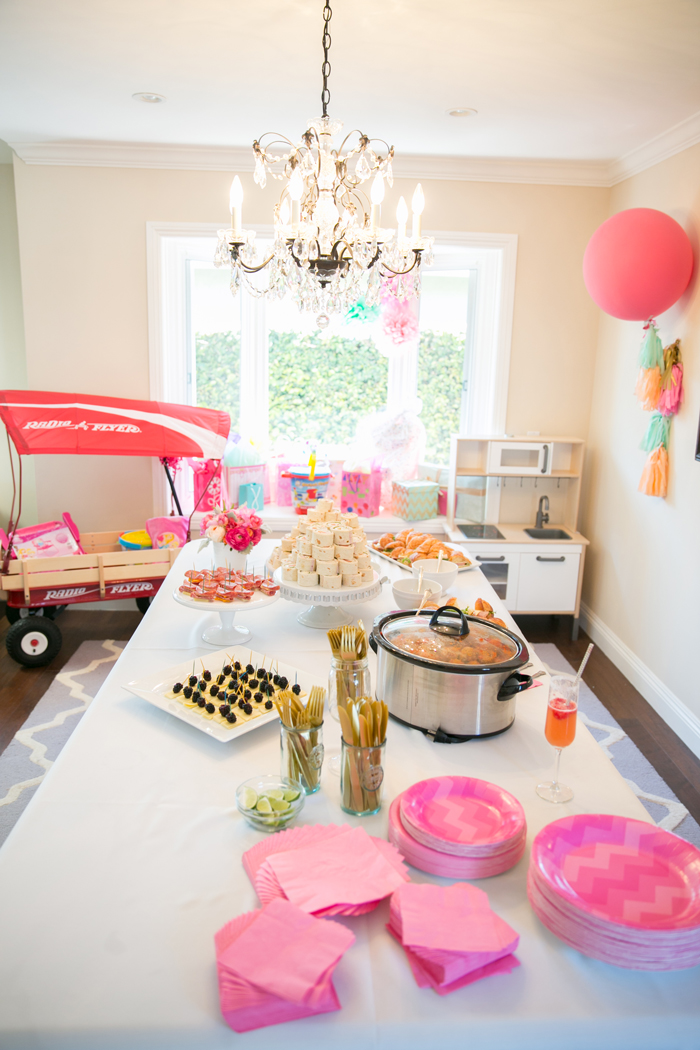
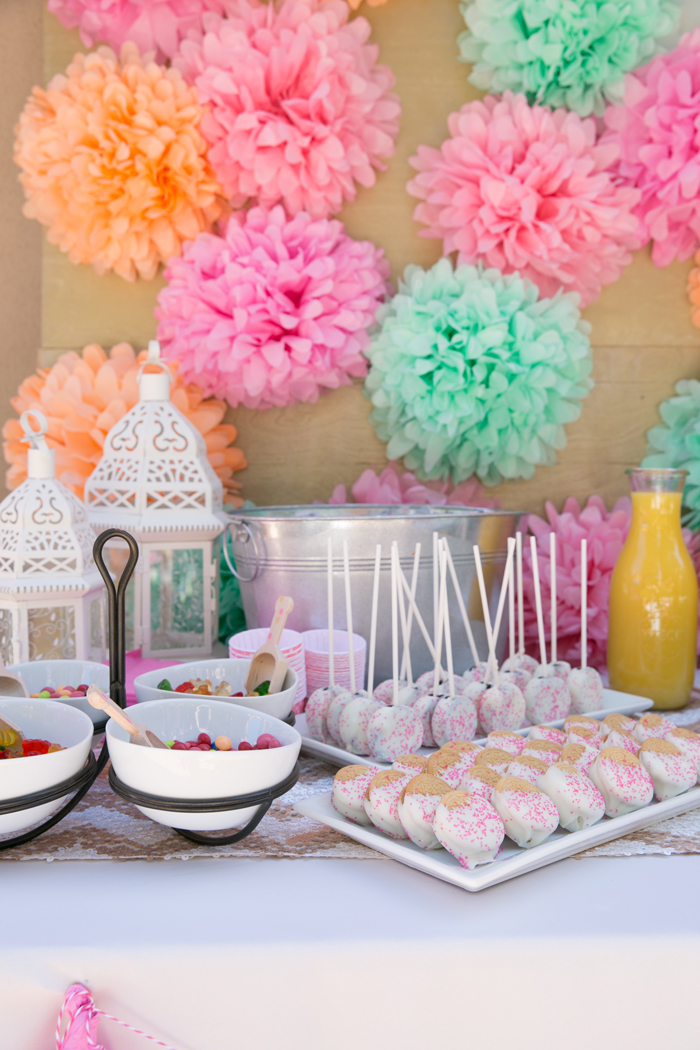
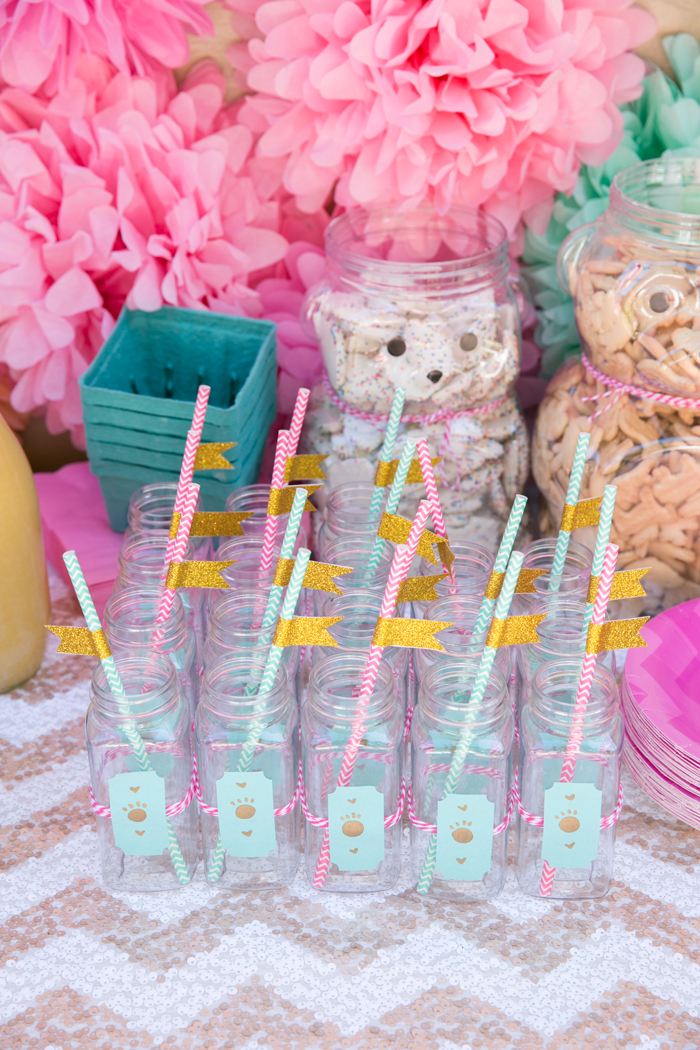
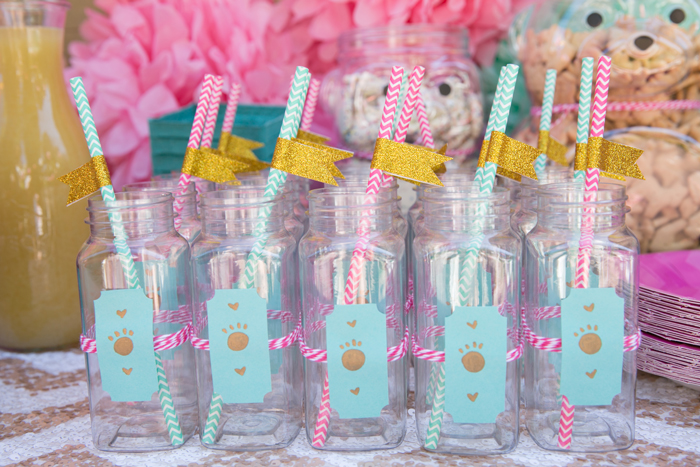
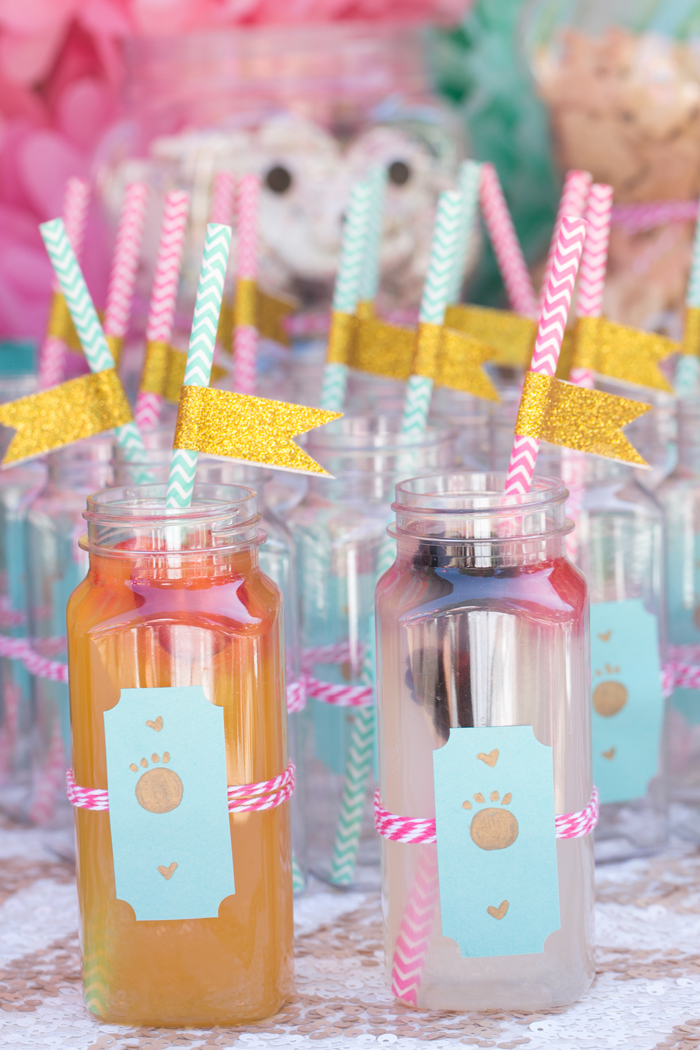
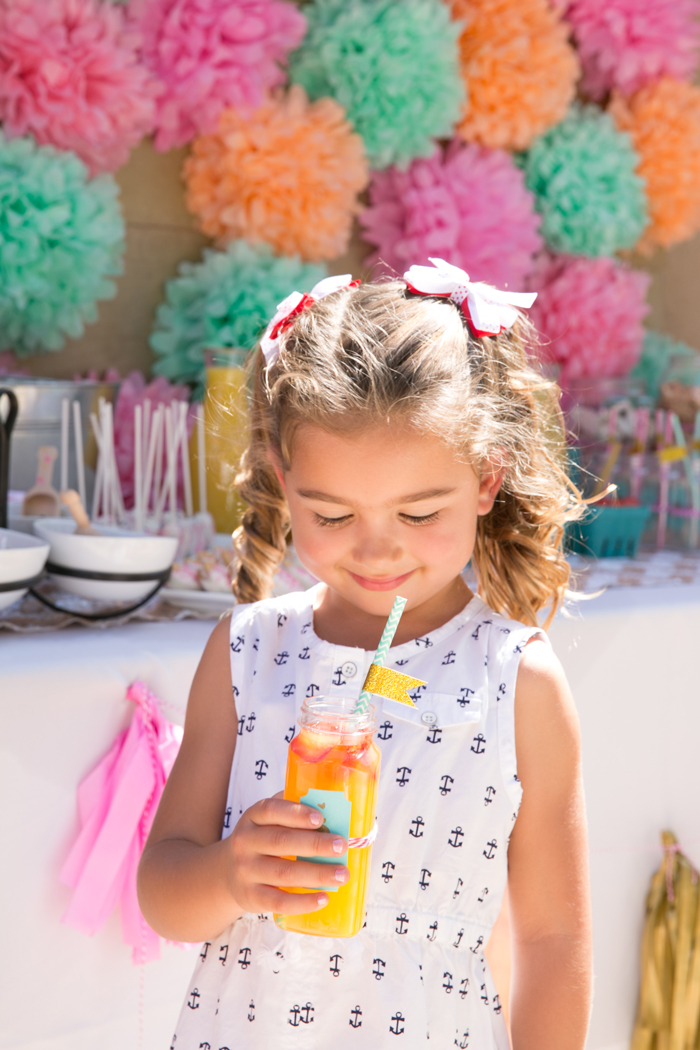
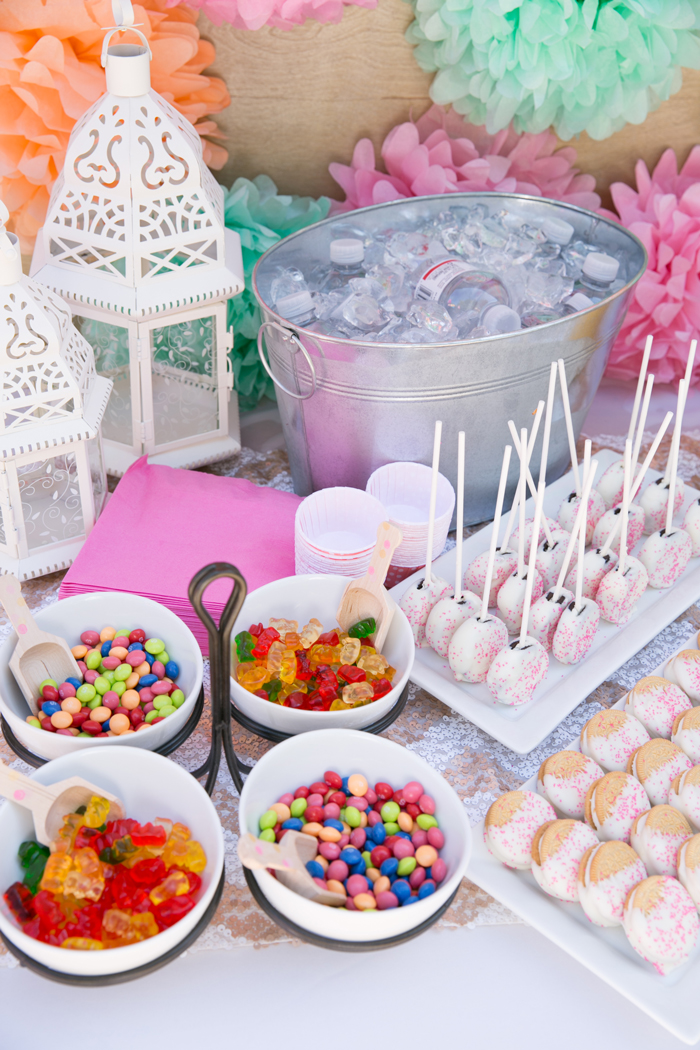
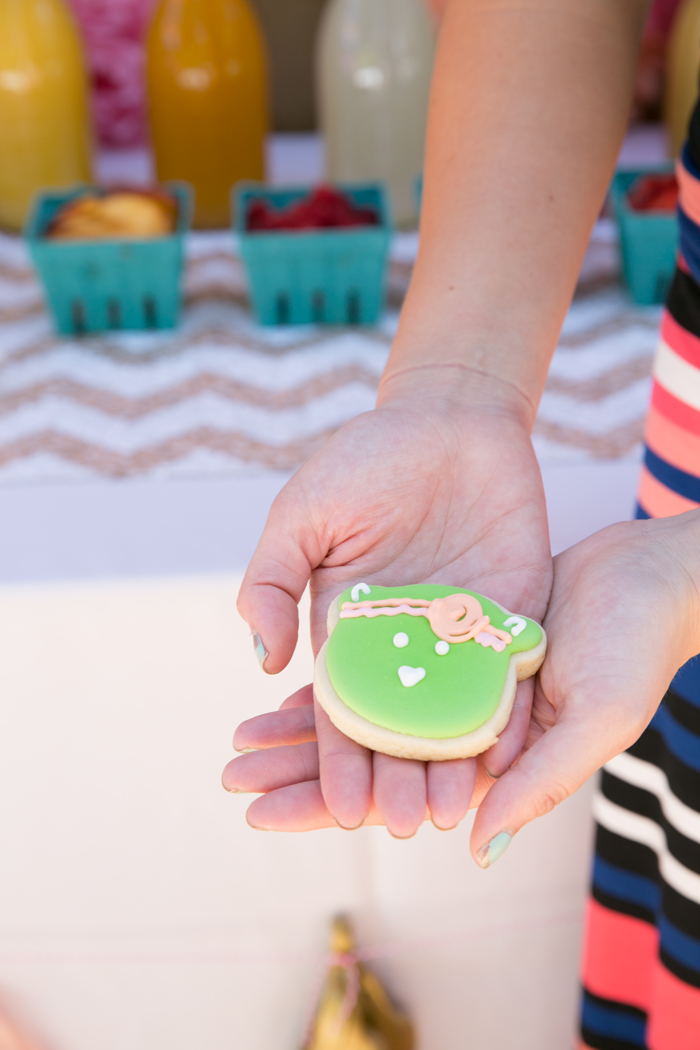
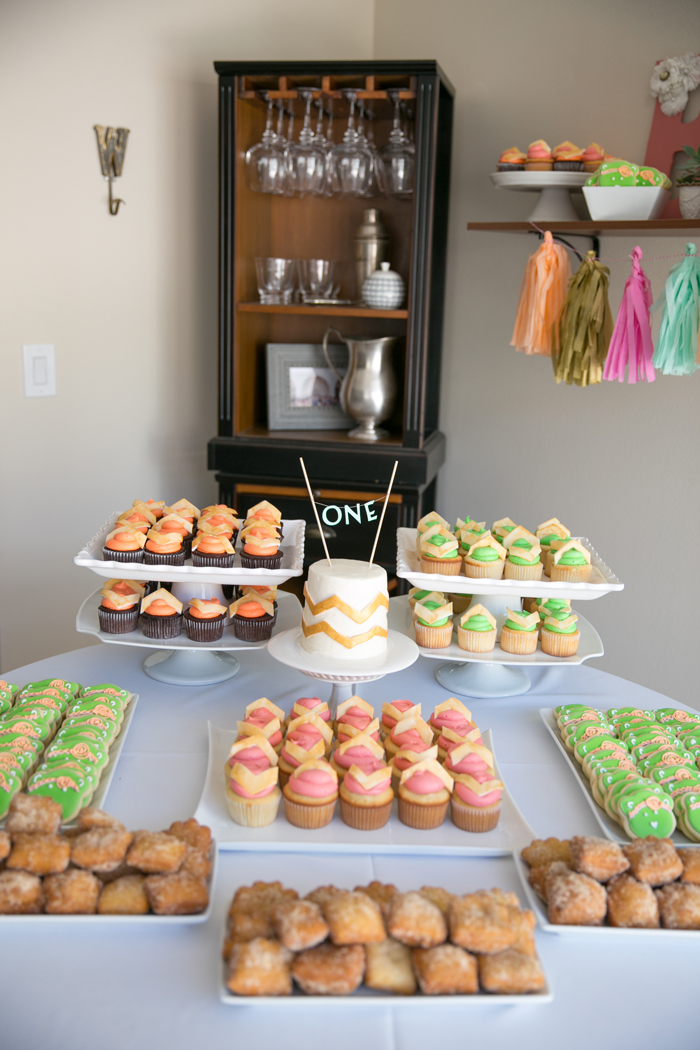
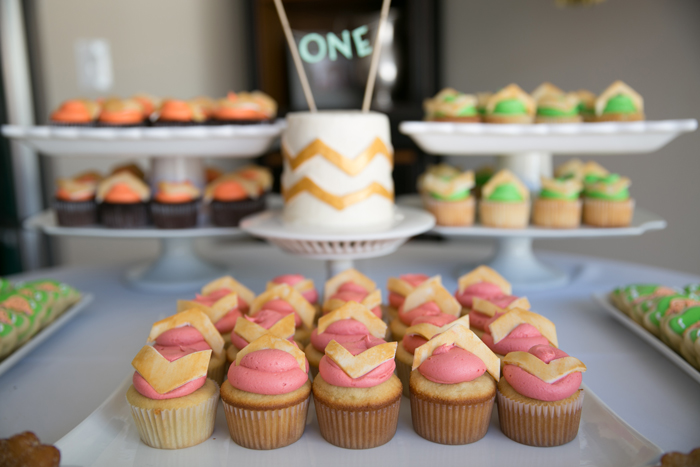
{The juice and snack bar area was a replica of the adult’s Mimosa Bar (minus the champagne).  Kids were able to mix their own fruit juices and grab their favorite sweets and snacks}Outside_Details_Juice_Bar5

Outside_Details_Juice_Bar

Outside_Details_Juice_Bar2

Outside_Details_Juice_Bar3

Outside_Details_Juicebar4

Outside_Details_Juicebar5

Outside_Detail_Juice

Outside_Details_Juice

Outside_Details_Juice2

Outside_Details_Juicebar6

Outside_Details_Snacks

Outside_Details_Cookies

Outside_Details_Blair

Outside_Details_Blair2

Outside_Details_Blair3

Cake_Table

Cake_Table_Cookies

Cake_Table_Details

Cake_Table_Cake

Kitchen_Pictures

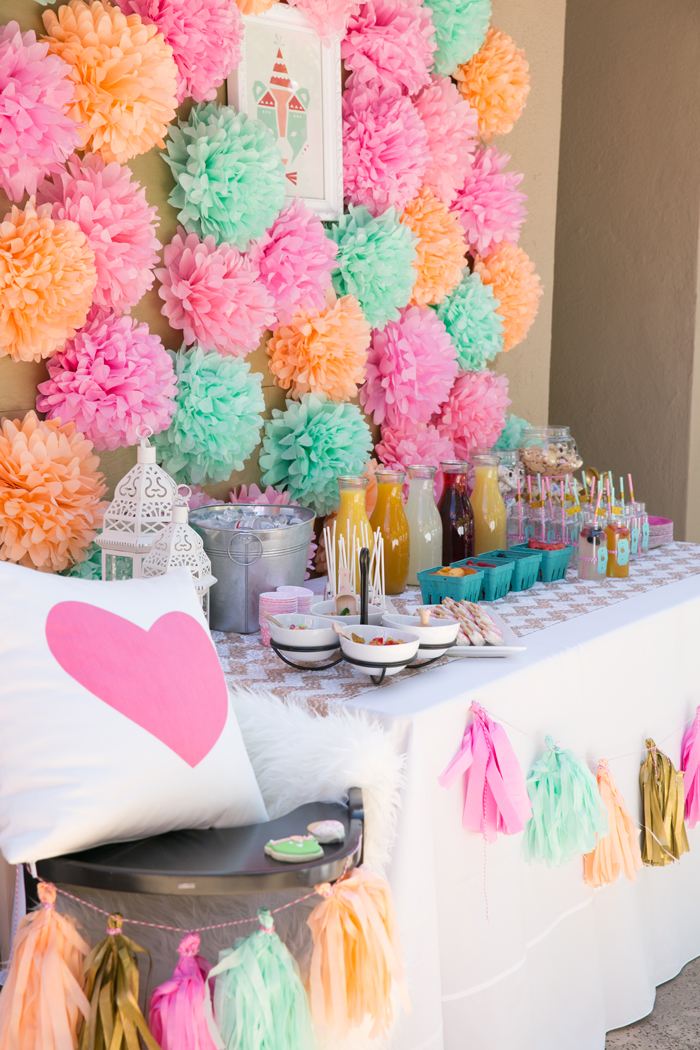
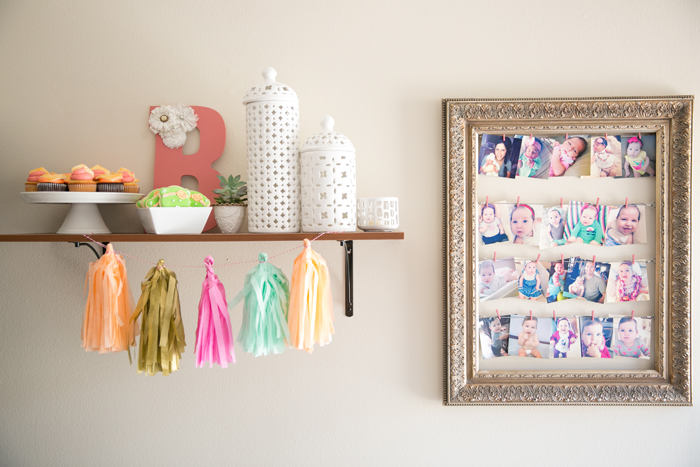
{Twelve months of Blair Bear!}Kitchen_Pictures2

Cake_Smash

Cake_Smash2

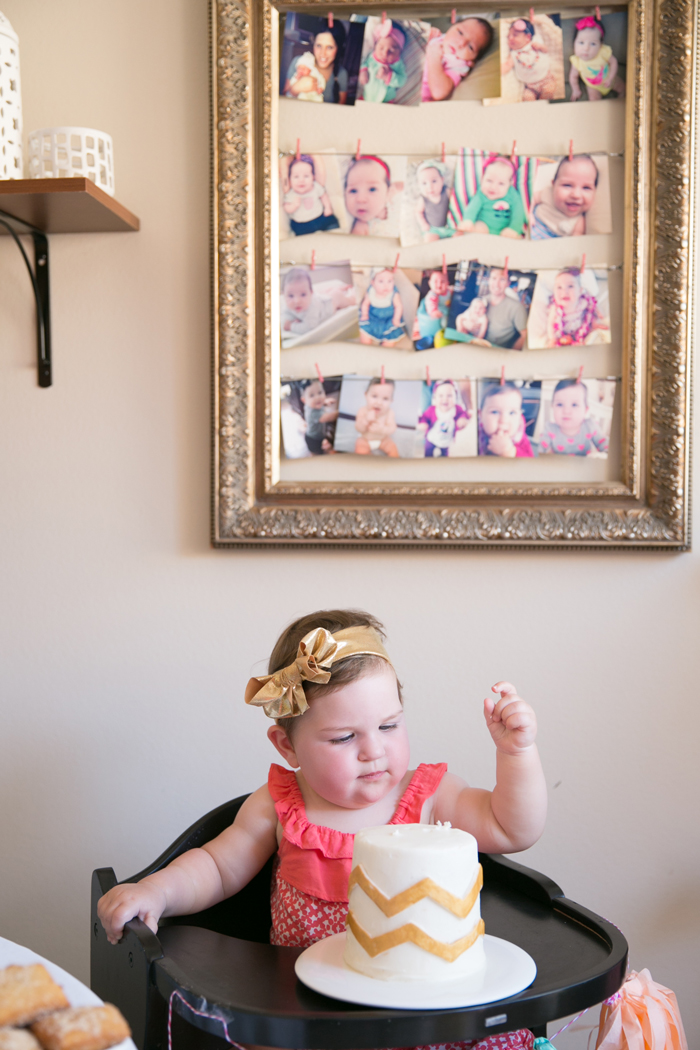
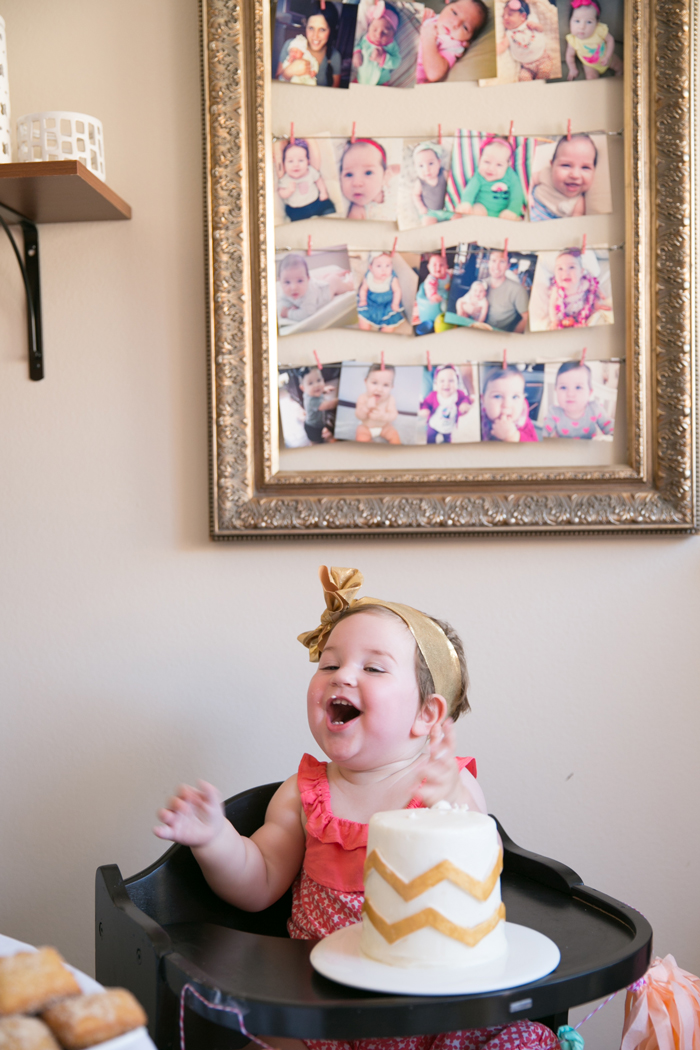
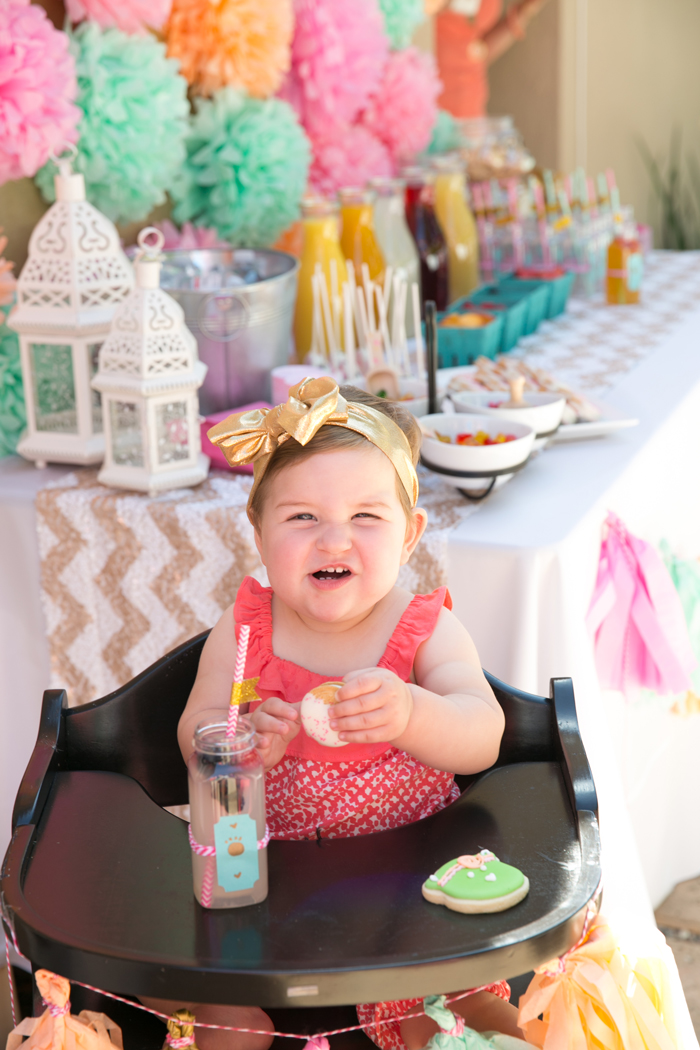
{YAY!  You’re ONE!!!}Cake_Smash3

Cake_Smash4

Cake_Smash5

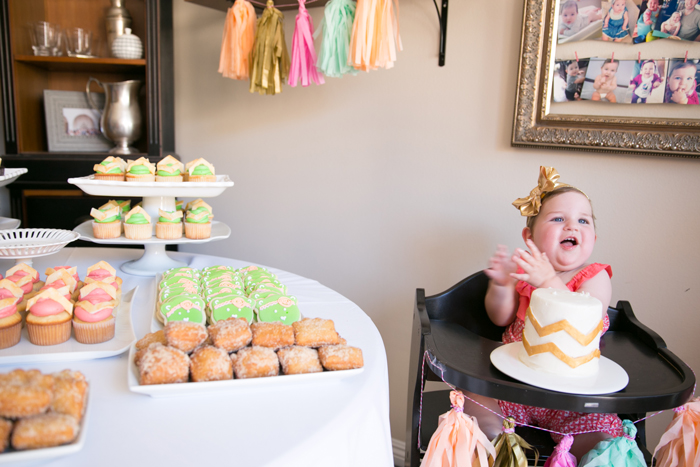
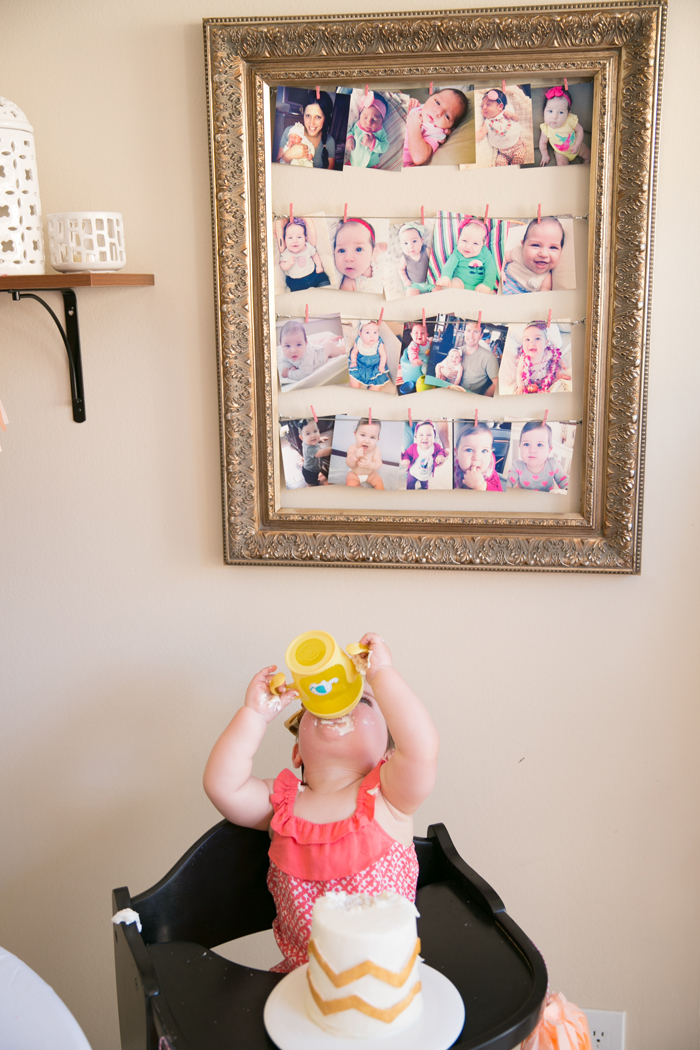
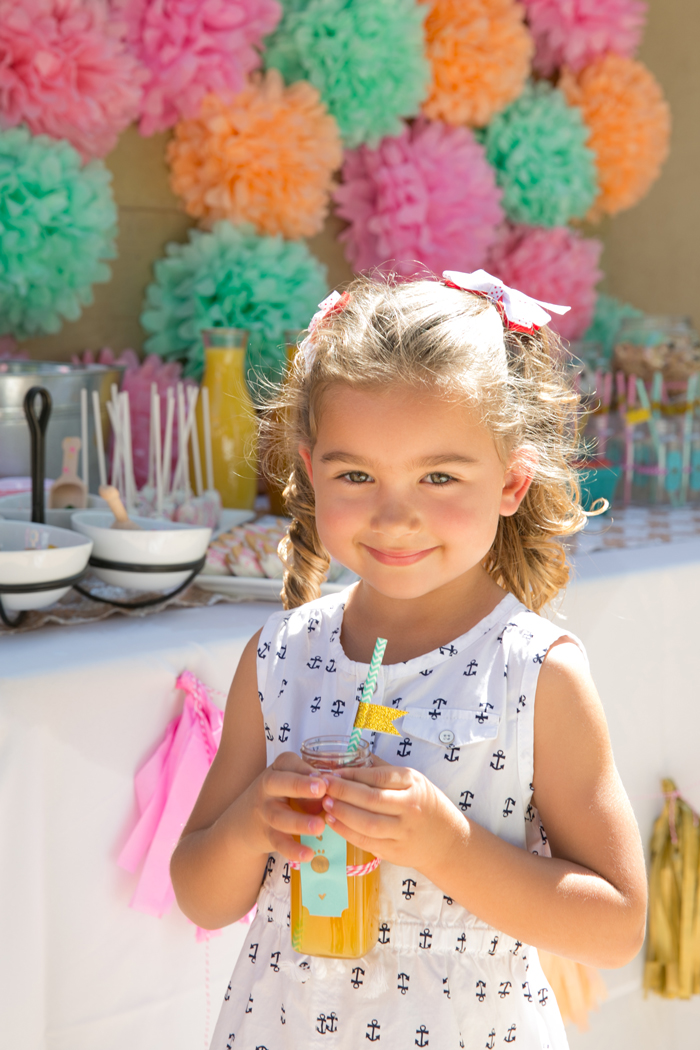
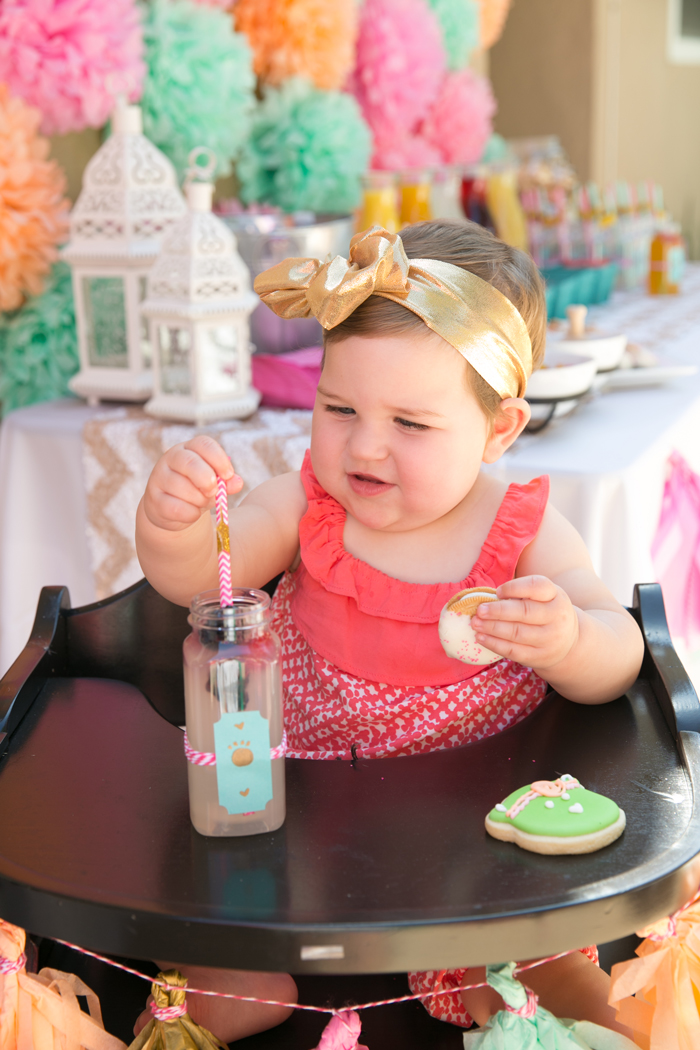
{Oh so thirsty!  Birthdays are hard work :-)}

Inside_Family3

{The girls behind the scenes –  Me, Beth, Tiffany and Sabrina}
Vendors/Sources
Mimosa Bar – ONEHOPE Wine
Sparkling – ONEHOPE Wine
Event Design and Florals –
Invitations – Five Two Eight 
Photography – Kylie Chevalier
Desserts – Take Two Etc.
Tissue Paper for fringe, garlands and poms – Koyal
Lanterns – Koyal
Linens – La Tavola

Events, Wine Tagged With: baby, birthday party, bubbly, decor, entertaining, food, kids party, mimosa, mimosa bar, outdoor entertaining, pink, wine

DIY Fringe Backdrop

June 18, 2014

Mix&Muddle-12

I LOVE a solid DIY with pretty turn-key results and this one is just that!  When our EVP of Sales, Tiffany, asked for my help throwing her adorable little girl’s 1st birthday party, I knew we were going to have some fun 🙂  This was the perfect opportunity for us to debut our Mimosa Bar set (Shhh! Details coming soon!) and I was dying to create a cool backdrop that we could shoot everything up against.  This entire project took about 3 hours from Home Depot run to finish so I’m thrilled with what we were able to create in such a short amount of time.

Fringe-Backdrop-DIY

Supplies

Tissue paper in assorted colors
Panel Board
2- 2×4’s (8ft.)
Drill
Screws + Bolts (I used 2″)
Staple Gun + Staples (light duty)
Measuring tape
Paper chopper

Instructions

Before you begin your backdrop, determine how large it needs to be.  We wanted ours to be 8′ tall and to line up with the entire width of Tiffany’s buffet table (~60″).  Knowing that, I purchased 2 pieces of panel board (as one wouldn’t be big enough to cover the entire surface area between the top of the 8′ 2×4’s and the top of her buffet (~5′-6″).  I had the panel board cut to size at Home Depot and we were ready to go!

1.  Once your supplies are home, lay out the panel board and the 2×4’s and make sure the panel board is square with the legs.

2.  Drill large enough holes through the 2×4’s and into the panel board for your screws to slip into, but don’t attach the legs yet (that will be your last step).

3.  Remove the legs from your workspace to get them out of the way and determine how thick you want each row of fringe to be.  We decided that we wanted each layer of fringe to be about 8″ tall which perfectly worked out to be 1 piece of tissue paper folded long ways (hotdog style).  We didn’t want to be able to see the wood panel board when the fringe blew, so we layered each row first.  Starting at the BOTTOM of your board, fold 1 piece of tissue paper in half (so that you have two layers and staple it in place).  It might take 2-3 pieces of tissue to make it all the way across your panel board.  Don’t worry about the seams – no one will ever see them once you have covered up this layer with fringe 🙂

4.  Create your fringe layer and apply.  To create the fringe, we took 2 sheets of tissue paper, folded them hotdog style (so that we had 4 layers of tissue) and using the paper chopper, we sliced the paper in 1″ sections.  Be sure to stop slicing about 1-2″ from the crease.   This was the most time intensive part of the project.  However, using a paper chopper will make the process so much faster and will make your fringe even and much more professional looking 😉  Apply your fringe with a staple gun (across the top along the crease) and repeat all the way across.

5.  Once you have applied your first row of fringe, repeat steps 3 and 4.  Just a little tip… we thought it looked best if we covered up the top inch or so of the previous layer of fringe with our next color of tissue (see picture for detail).  That way, the transitions aren’t so harsh between colors and you cover up any inconsistencies along the top (below the crease) with the cuts you did to create the fringe.

6.  When you’re ready, carefully stand your panel board up with another person.  Be careful not to step on any fringe… it will tear off SO easily!  It might be easiest to lift your board slightly and slide the legs underneath to attach them.  Either way, just be careful not to tear or crease any of your pretty fringe.

Put your backdrop into place and….voila!!!  I can’t wait to share the images from the full party!  We were covered by Style Me Pretty Living and the feature is the absolute cutest!

PS:  The Mimosa Bar in the pictures can be purchased here, but more on that later too 🙂  xo

Mix&Muddle-17


Events Tagged With: birthday party, color, decor, design, event design, events, fringe, home, pink

  • Facebook
  • Instagram
  • Pinterest

Search

About Meg

subscribe via email

Insta Love

Shop Pillows!

Recent

  • Late Summer Gazpacho
  • 2018 Harvest Party
  • Life Lately: Golden Hour
  • Sauvignon Blanc Harvest / 2017
  • Fig + Prosciutto Salad with Almond Milk Ricotta

Favorites

Follow Along!

  • Facebook
  • Instagram
  • Pinterest

© Copyright 2025. Design.Wine.Dine.. All Rights Reserved. Design by Bloom.